עליונית סרוגה לחוף הים היא תוספת מרהיבה למראה הקייצי שלך, זה פריט לבוש חיוני לחופשה על שפת הים. בנוסף לתפקיד העיקרי של הגנה מפני השמש, היא יוצרת מראה קליל וסקסי ליציאה לחוף הים, לבית קפה על החוף או למסיבת החוף.
הנה הוראות סריגת קרושה לעליונית מחוטי כותנה, במידה ותרצו להגדיל מידה, יש למדוד את רוחב הכתפיים ולהוסיף כ-14 ס"מ, למדוד את הגובה מהמותן לכתף ומהמותן ומטה, בהתאם לקבע את אורך הבגד.
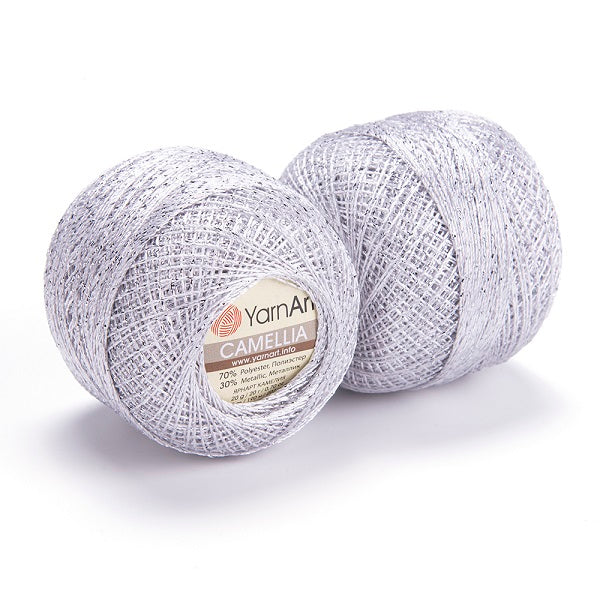
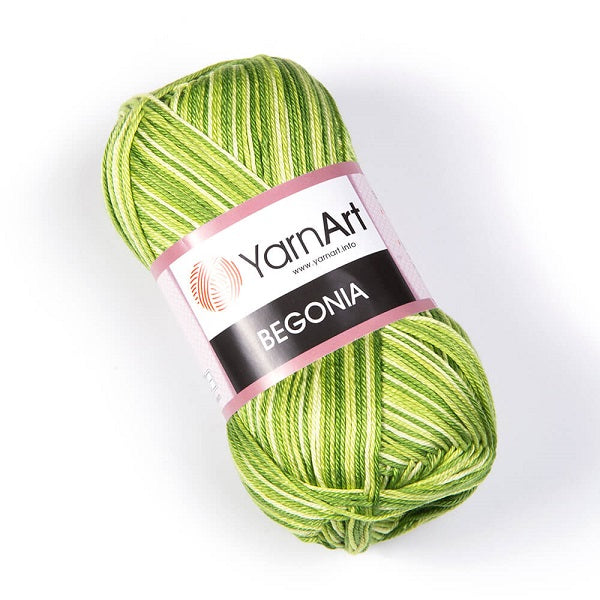
לחוטי כותנה מתאימים לסריגת עליונית החוף לחץ כאן
להוראות סריגת קרושה בסיסיות לחץ כאן

MATERIAL
YARN = 6 balls
HOOK = 3 mm
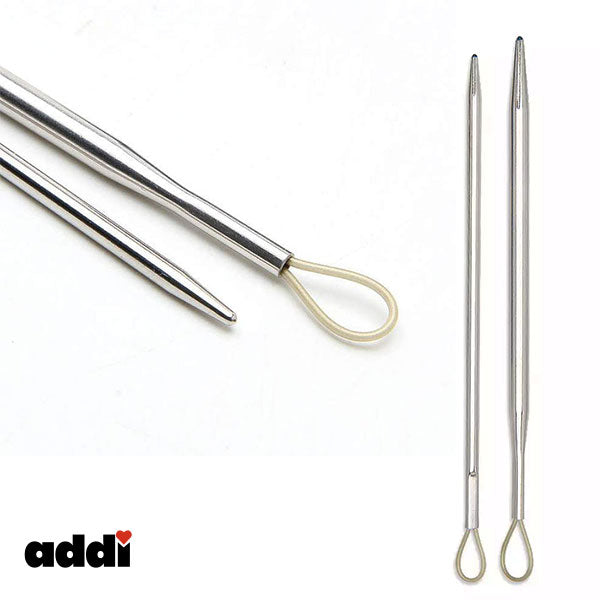
OTHER = tapestry needles, pins, scissors.
SAMPLE
10 x 10 cm = 24 ch (= 5 arches) x 7 repetitions in height worked in net st with picot
10 x 10 cm = 5 elongated sts. x 3 repetitions in height
ABBREVIATIONS
RS = right side;
WS = wrong side;
st(s) = stitch(es);
R = row;
ch = chain
sl st = slip stitch
sc = single crochet
dc = double crochet.
rep** = repeat from * to *
NOTES
DIFFICULTY LEVEL: Intermediate
If you want to increase the size, measure the width of the shoulders and add approximately 14 cm, measure the height from the waist to the shoulder and from the waist down, determining the length of the garment accordingly.
The swimsuit cover-up is made up of 2 panels, worked in the upper part in net stitch and in the lower part in witch stitch.
MEASURES
Size 40
POINTS USED
Chain, slip st., single crochet
Picot: 1 sc, 2 ch, 1 sl st in the same base ch of the sc
Elongated st (see drawing)
drawing 1: form a loop on the hook lengthen the st (= buttonhole) at the height of 1 double crochet.
drawings 2 and 3: yarn over and pull it through the buttonhole.
drawing 4: insert the hook between the buttonhole and the yarn over, yarn over and pull out 1 st, yarn over and pull it through both sts on the hook, closing the st. elongated.
drawing 5: rep from 1° to 4°
Witch stitch (chart 3): * make 2 elongated sts, skip 3 or 4 base sts or corresponding space and work 1 sc *, repfrom * to * as many times as needed, for the next rows refer to chart 3.INSTRUCTIONS
UPPER FRONT
Work 119 ch.
1arow: 1 scon 2°from hook and in each ch to the end, turn [118 sc]
2arow: 1 ch (doesn’t count as 1°st here and forward), (1 sc in each of the next 9 sts, skip 1 st) fro 11 times, 8 sc. [107 sc]
3arow: * 5 ch, 1 picotonthe 3°of the 5 ch of the next arch *, rep** other 23 times, end the last repetition with 1 sc and with 1 picot, turn. [24 arches]
Continue following chart 1, repeating it up to 23 cm of height. From the next row, divide the piece to shape the neckline and continue separately on the 2 parts as indicated in chart 2.
Starting from the 7° row of the neckline, always work on the base of 9 arches until the 26° row is completed.
Cut eh yarn and close. Weave in all ends.
UPPER BACK
Work as for the Front without V-neck.
At 2 rows from the end (measure related to the length of the upper front), divide the piece to create the back neckline and continue separately on the 2 parts, working in net st with picot based on the first and last 9 arches.
Cut eh yarn and close. Weave in all ends.
Sew front and back shoulders together in sl st on RS.
Turn upside-down the cover up and start working separately in witch stitch on the opposite side of the basic chains, creating the right front, left front and back.
RIGHT LOWER FRONT
Starting from the side (hip), work 13 elongated sts evenly up to the middle of the front, turn and continue in witch stitch as indicated in chart 3, for a total of 20 rows.
LEFT LOWER FRONT
Work 20 rows in witch stitch as for the right lower front.
LOWERBACK
Work 20 rowsin witch stitch on all stitches of the back.
FINISHING
Fringes: * cut 4 strands 24 cm long, fold them in half, insert the crochet hook in a st / space of the edge, hook the fold point (loop) and pull it through the st / space, insert the ends of the threads through the loop, pull the threads to tighten the knot and secure the fringe in place * , rep from * to * to create a fringes border along the bottom edge of the fronts and back. Even the fringes with the scissors.
Cord/belt
Using the yarn held double, make a 160 cm chain cord. Cut the yarn and close. Weave in all ends.
Thread the cord through the net stitch arches around the waistline of the cover-up. Make 2 fringes and apply them to the end of the belt.


